Developing with JBrowse web and desktop
The following guide will walk you through setting up a developer environment for development with JBrowse web and JBrowse desktop.
This guide will provide some steps from the perspective of a plugin developer, but if you are interested in contributing to jbrowse-components, the setup steps are equally relevant.
Prerequisites
- git
- A stable and recent version of node
- yarn or npm
- basic familiarity with the command line, React, package management, and npm
Setup JBrowse 2 using the latest developer build
The code for both JBrowse web and JBrowse desktop is found in the jbrowse-components repository. First we're going to clone the repo and install the dependencies.
git clone https://github.com/GMOD/jbrowse-components
cd jbrowse-components
yarn # or npm i
To run JBrowse web
cd products/jbrowse-web
yarn start # or npm run
JBrowse web will by default spin up on http://localhost:3000.
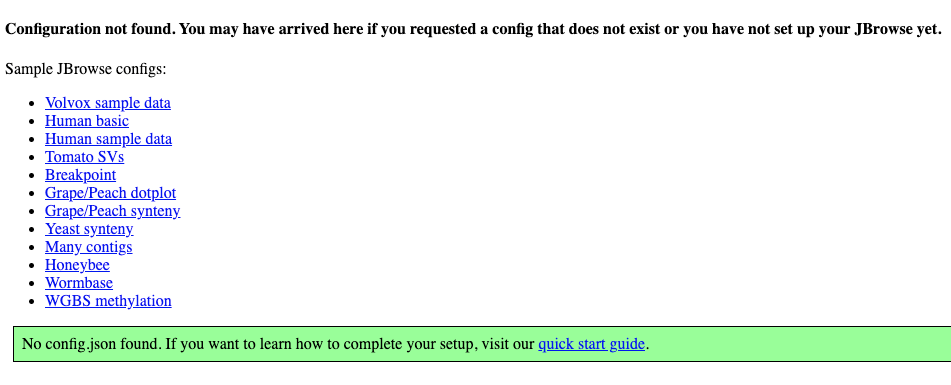
You can select one of the sample configs to poke around with or to immediately start seeing changes you make in the codebase, or you can run JBrowse against a config with the plugin you're developing. See the plugin tutorial if you need help starting with plugin development.
If you have a plugin running on port 9000 from the plugin tutorial, navigate to
http://localhost:3000/?config=http://localhost:9000/jbrowse_config.json
and you'll see the pluggable elements you've added through your plugin on your running JBrowse session.

To run JBrowse desktop
Open two tabs in your terminal at ~/jbrowse-components; in one tab, run:
cd products/jbrowse-desktop
yarn start
And in the other tab, run:
cd products/jbrowse-desktop
yarn electron
Doing this, you can quickly restart the "react app" part of JBrowse (the tab
where you ran yarn electron) during your development without having to wait
for the electron app (yarn start tab) to restart.
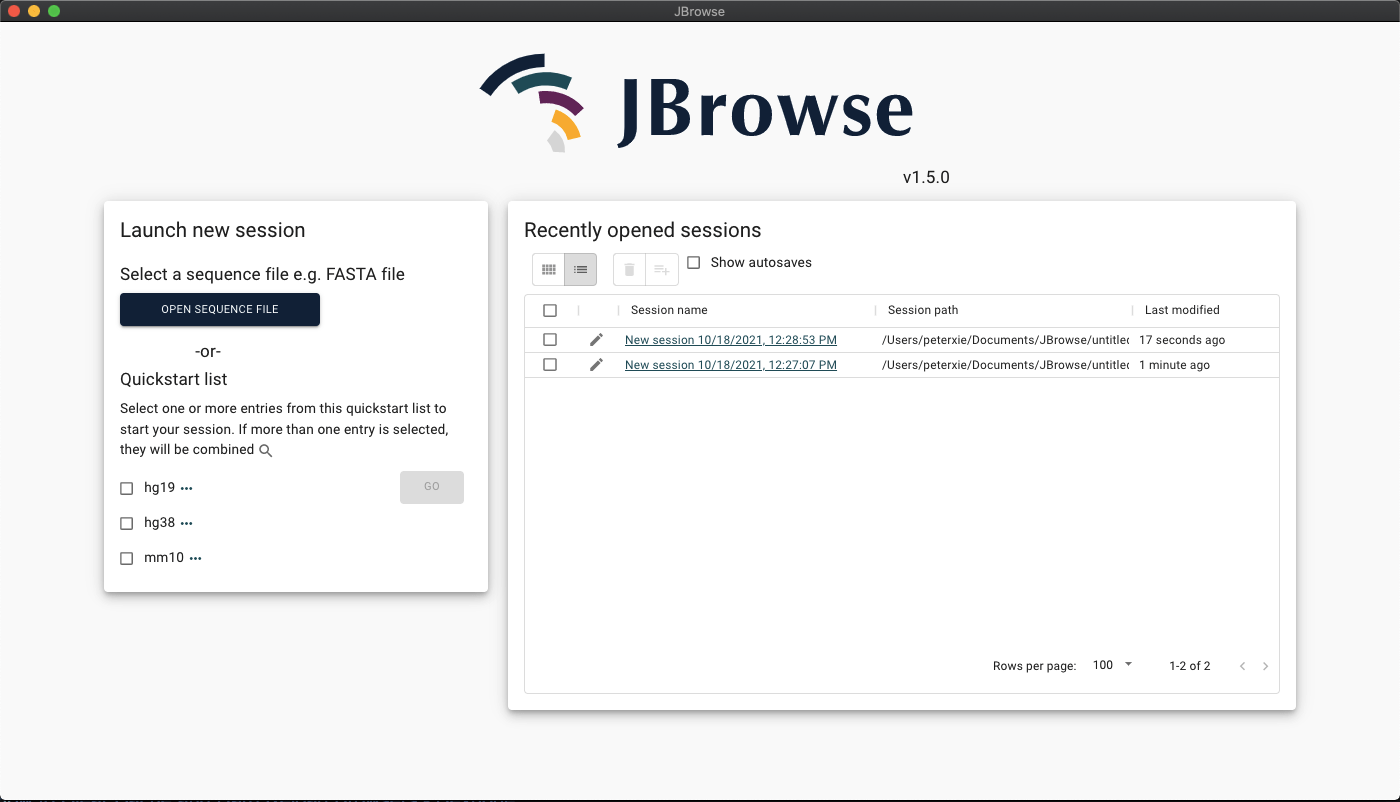
A new window running JBrowse desktop will open.
Running JBrowse desktop with a plugin in development
The following assumes your plugin is running on port 9000, as shown in the
the plugin tutorial.
JBrowse will open on the splash screen when first spun up. The easiest way to see your local plugin running on JBrowse desktop is to select a quickstart assembly (under "Launch new session" on the left side of the screen) and then press "Go".
Then navigate: Tools -> Plugin Store and press the button at the top of the
Plugin Store widget "Add Custom Plugin."

It's important to fill these fields in correctly, if you've followed the
the plugin tutorial, the information you need
will be in the jbrowse_config.json file.
You might see something like the following in your jbrowse_config.json file:
{
  "plugins": [
    {
      "name": "SomeNewPlugin",
      "url": "http://localhost:9000/dist/some-new-plugin.umd.development.js"
    }
  ]
}
To which you would fill the fields in like so:
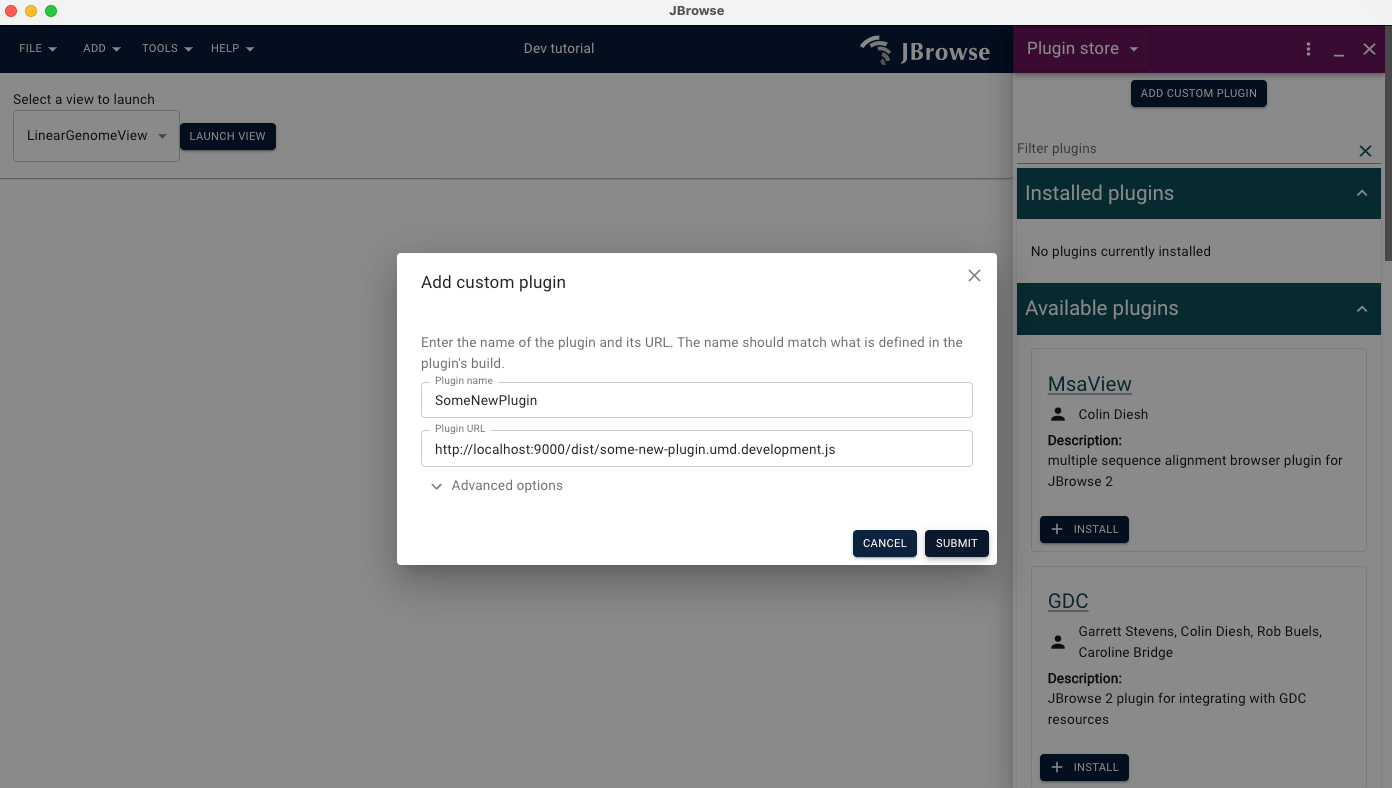
After pressing "Submit" on this form, your plugin should be added to your session.
For easy access to this session, navigate File -> Save as.. to save the
.jbrowse file somewhere you can easily open it.
not automatically reload when you make changes to your plugin code. To see these
changes applied, press F5 to refresh the desktop react application.
You can also abort the running process under the "yarn electron" tab we set up earlier, and start it again. :::
console.log output under the "yarnelectron" tab of your desktop development environment, follow these steps:
- Create or edit the
.bash_profilefile typically found in the root directory of your profile - Add
export ELECTRON_ENABLE_LOGGING=1on a new line to the file - Restart your terminal and JBrowse
yarn electronprocess
You should now be able to see console log statements in your terminal when developing on JBrowse desktop (denoted by a message prefixed with something like INFO:CONSOLE). :::
Next Steps
Now that you have your environments and your plugin running, you can start developing for JBrowse 2.
If you took a detour from the plugin tutorial, head back to where you left off.
If you'd like some general development information, checkout the series of developer guides available.